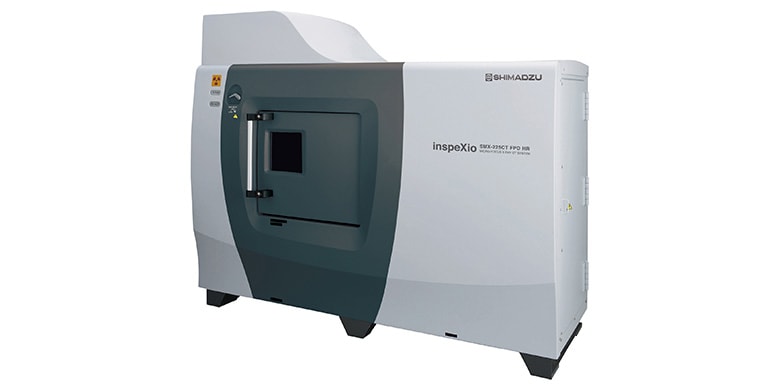
inspeXio SMX-225CT FPD HR Plus
- The volume and shape of individual micro-defects in rubber can be observed in detail using a microfocus X-ray CT system. - The approximate position and size of microcracks can be determined efficiently using a phase-contrast X-ray CT system. - The progression status of defects and cracks in rubber can be compared at respective cycle counts of fatigue testing.
Rubber products serve an important role in a wide range of fields, such as automotive tires, industrial products, and medical devices. However, functional losses can occur due to fatigue and aging after long periods of use. Therefore, evaluating the durability of rubber is an important issue. In order to evaluate the progression of defects during usage, rubber must be inspected before it fails. It can be inspected by cutting it apart, but non-destructive inspections are preferable due to the disadvantages of destructive inspections, such as the inability to restore specimens after inspections and the limitation of only being able to evaluate cut surfaces. Internal defects can be detected and three-dimensionally observed using an X-ray CT system. One X-ray imaging method typically used is absorption imaging, which generates images based on the quantity of X-rays absorbed. Another method is phase imaging, which is a new unconventional method that generates images based on variations in the phase of X-rays. This article describes using two types of instruments based on those different imaging methods to observe rubber during fatigue testing.
10 de diciembre de 2024 GMT
Some products may be updated to newer models